Purpose:
This SOP outlines the steps for sending a proposal via the portal to ensure consistency and accuracy in the proposal process.
Step 1: Accessing the Proposal Feature
- Log in to the portal.
- Navigate to the Admin section and select Send Proposal from the menu.
- You will be prompted to input the company name.
- If no company name is available, toggle this option off.
- Input the required details:
- First Name
- Last Name
- Primary Email Address
- Select the proposal you wish to send.
Alternatively:
- Click the + button to add a Company or Contact, or navigate to the CRM section to select an existing company or contact.
- Use the + buttons within the CRM to add new entries quickly.
Step 2: Selecting the Contact and Role
- Select the contact you wish to send the proposal to.
- On the contact details page:
- Assign the Role as “Prospect” if the recipient is not yet a client. This step is crucial for enabling proposal sending.
- Fill out the essential contact information:
- First Name
- Last Name
- Primary Email Address
Note: Additional information about the contact or company can be added, but this step is optional.
Step 3: Linking the Contact to a Company
- If you know the company associated with the contact, add the company to the portal first.
- Link the contact directly to the company for seamless integration.
Step 4: Generating the Proposal
- Scroll down to the Proposal Generator section.
- Select the proposal template you wish to send.
- Click Save and List to finalize the proposal.
- This action submits the proposal to the recipient.
Step 5: Viewing and Managing Proposals
- Navigate to the left-hand menu and go to Office > Proposals.
- The first proposal in the list will be the one you just sent.
- To preview or view the proposal, select Preview or View.
Step 6: Resending the Proposal
- To resend the proposal via a manual link:
- Select Copy Approve Link to generate a URL link for the proposal.
- Provide this link to the recipient via email or other communication methods.
- To resend the proposal email:
- Click Resend Proposal within the portal.
Step 7: Reviewing Sent Emails
- Access the Activity Stream section of the portal.
- Select Email to view the email sent to the recipient.
- You can review the full email to confirm its contents and ensure the proposal link is included.

- You can review the full email to confirm its contents and ensure the proposal link is included.
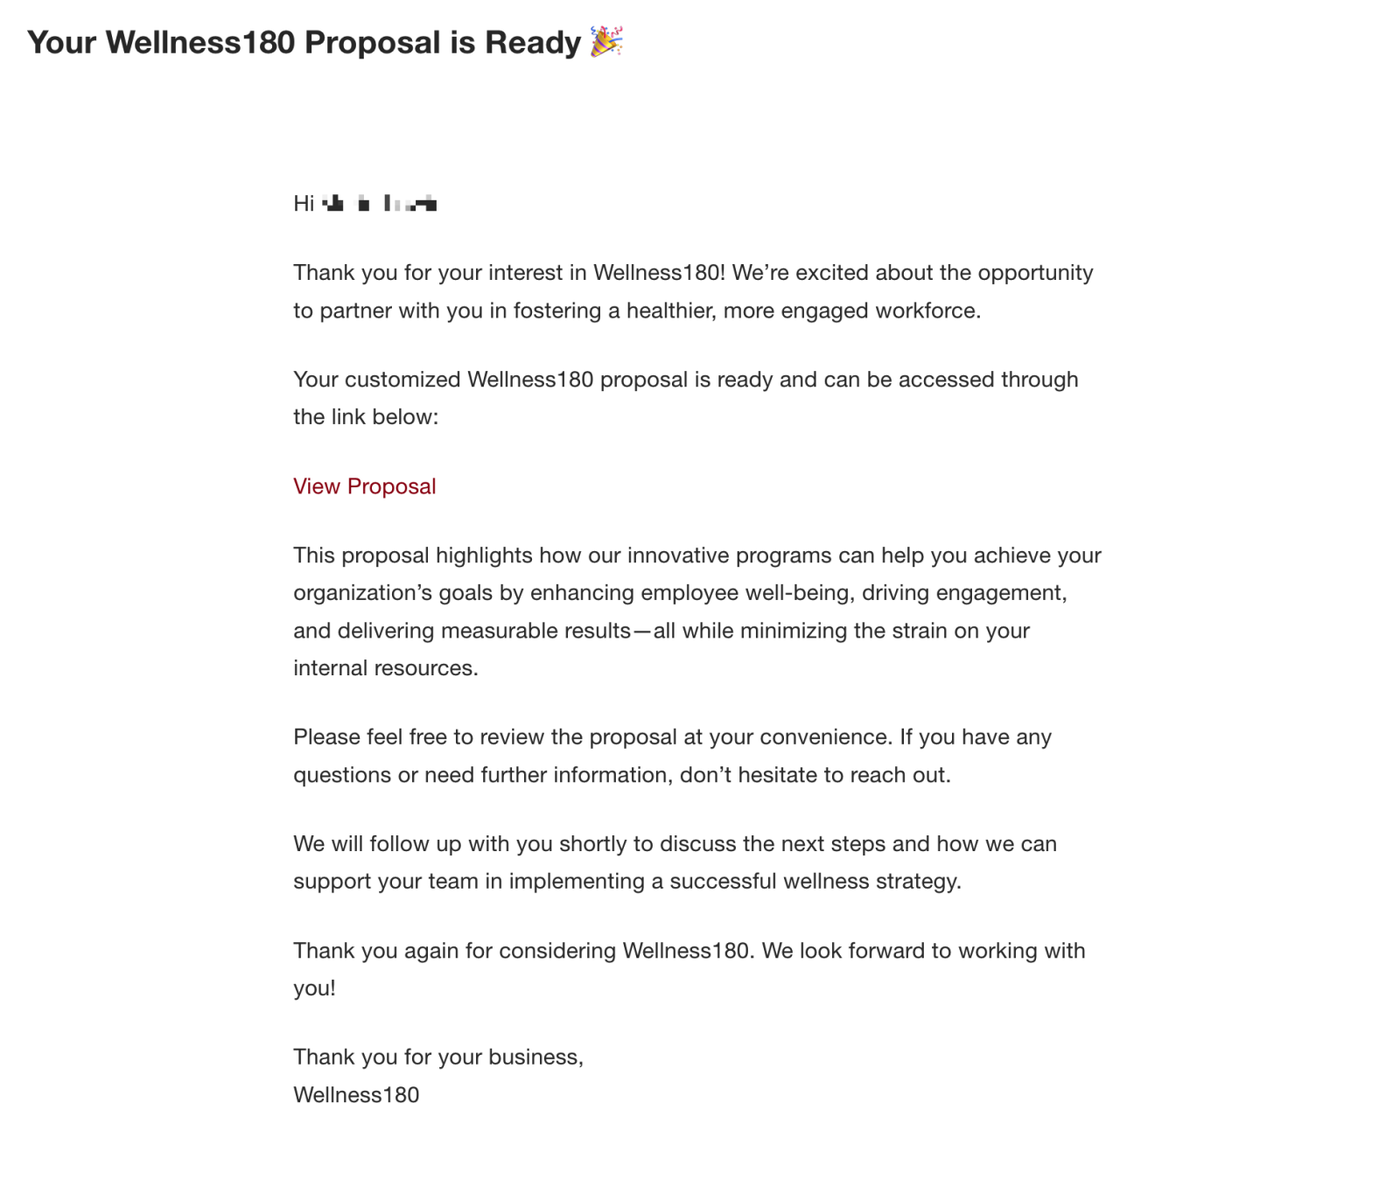
Step 8: Client Experience
- Once the recipient accesses the proposal link:
- They will see the welcome screen, deliverables, and the offer details.
- They can make selections within the proposal, with the total updating on the right side of the screen.
- After completing their selections, they will be prompted to sign and accept the proposal.
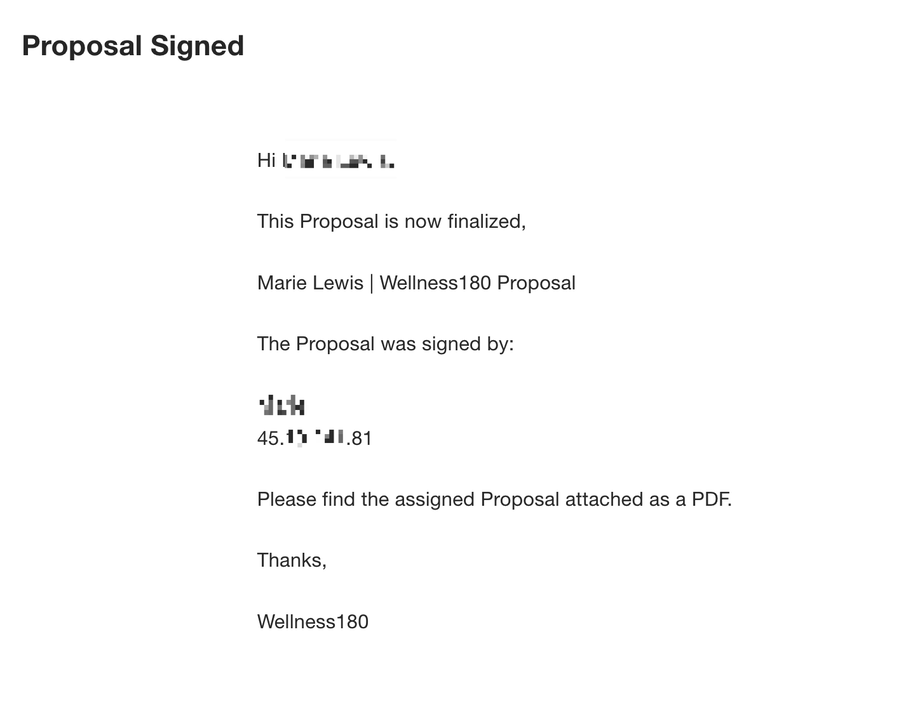
Step 9: Post-Acceptance Process
- After the recipient signs and accepts the proposal, they will see a Thank You Page.
- This page welcomes them to Wellness180.
- Their acceptance is logged in the system for your records.

Note:
- For any technical issues or questions during the process, contact the admin team for support.
- Regularly monitor the Activity Stream to track proposal engagement and status.
By following this SOP, you ensure an efficient and professional proposal process for Wellness180.